In the first of a series of posts, i-escape Editorial Assistant and keen photographer Abi shares her secrets for taking travel pictures that you’ll be proud to show off when you get back home.
Ever returned from a once-in-a-lifetime trip with hundreds of pictures, only to find they’re all blurred, too dark or, well, just a little bit boring? Me too – in fact, I’ve lost count of the number of times I’ve photographed a vivid sunset or a vibrant scene and produced nothing but insipid results. But over the years I’ve picked up a few simple tips that anyone can use to transform their holiday snaps into powerful, memorable photos – and you don’t need an expensive camera or any fancy equipment. First up: hints to help you capture the beauty and drama of landscapes and architecture.
The rule of thirds
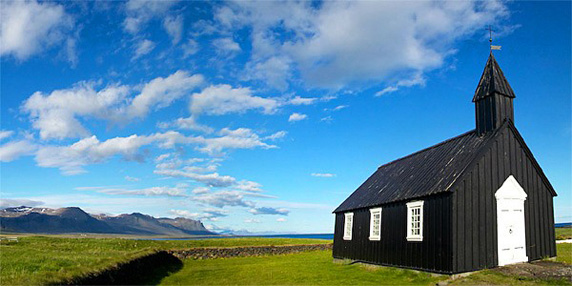
You can improve almost any picture by using what’s known as the ‘rule of thirds’ – a sneaky trick that artists have been employing for centuries to add balance and interest to their compositions. Simply imagine that your viewfinder or camera screen is divided by three equally-spaced lines, both horizontally and vertically, and position the main subject of your photo, whether it’s a mountain, a lake or a building, at any point where the lines cross. When shooting a horizon, for example, try to place it either a third of the way from the bottom of the picture or a third of the way from the top, rather than in the middle.
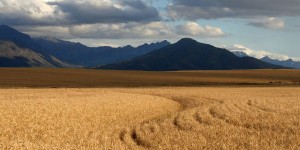
You can also help draw the eye towards the focal point by including diagonal lines or curves (perhaps a road, a coastline or a river sweeping into the distance) – the tracks through the wheat in the foreground of this photo of South Africa’s Elandskloof Mountains are a great example.
Think outside the box
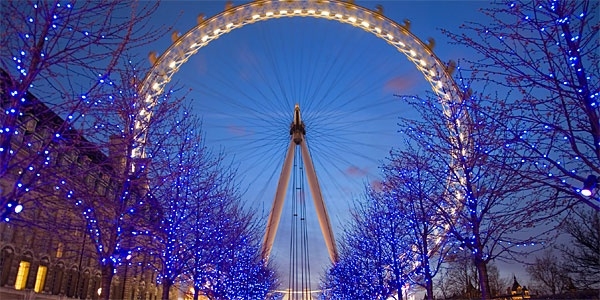
There are hundreds of thousands of photos of the world’s most famous sights, so make your pictures stand out by putting an unusual spin on your subject. Don’t be afraid to experiment: try searching for a different perspective (perhaps though a window or looking down from above),
turning your camera on an angle, framing your subject with foliage or buildings, or even taking a picture of a reflection or a shadow rather than the landmark itself. Be prepared to attract some strange glances, though – I’ve been known to lie down on the ground in the middle of a busy square to photograph a building from beneath, much to the embarrassment my travelling companions.
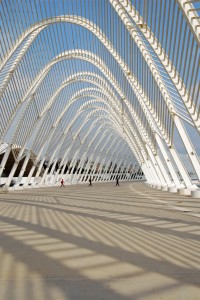
Add detail
Including an object or people in photos of landscapes and architecture can add interest and emphasise scale. When taking this picture of the Olympic Village in Athens, for example, I waited for a group of school children to wander into the shot, as I wanted the sheer enormity of the structure to come across in the picture.
Find the right light
The best photos tend to involve early starts or late evenings, as the softer light of dawn and dusk generally makes for a much better image than the bright sunshine or boring white skies of daytime. Compare these two images of Valencia’s City of Arts and Sciences – one taken at midday and the other in the evening – and you’ll see what I mean. But make sure your flash isn’t set to go off automatically in low light conditions, and bear in mind you’ll need to keep your camera very still to avoid blur – if you haven’t got a tripod, balance it on a flat surface (benches, walls and even car roofs can come in handy) and set the automatic timer to take the picture so that you don’t accidentally cause your camera to shake when clicking the shutter.
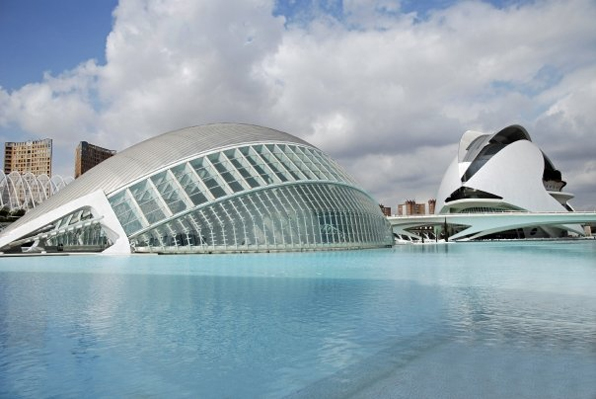
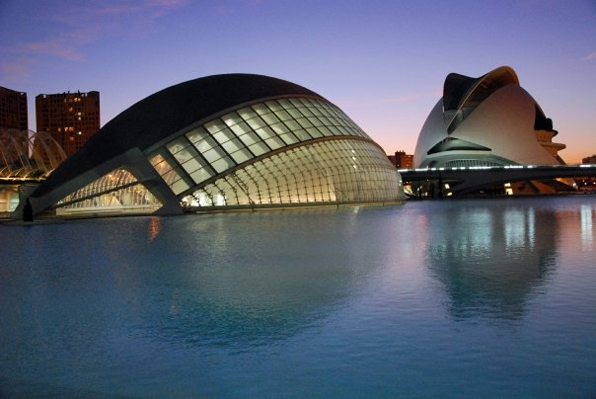
Remember that every rule can be broken, though: strong shadows, rolling clouds or colourful foregrounds set against deep blue skies can add drama to a shot, so play around with different conditions – you might be surprised at the results.
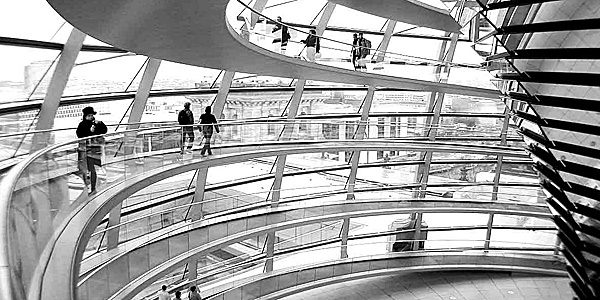
Try black and white
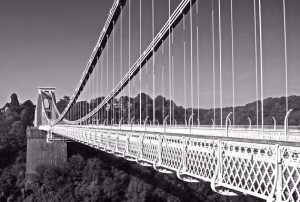
Taking pictures in black and white can emphasise architectural forms and create a dramatic image, particularly when the light is harsh or you’re photographing urban scenes.
